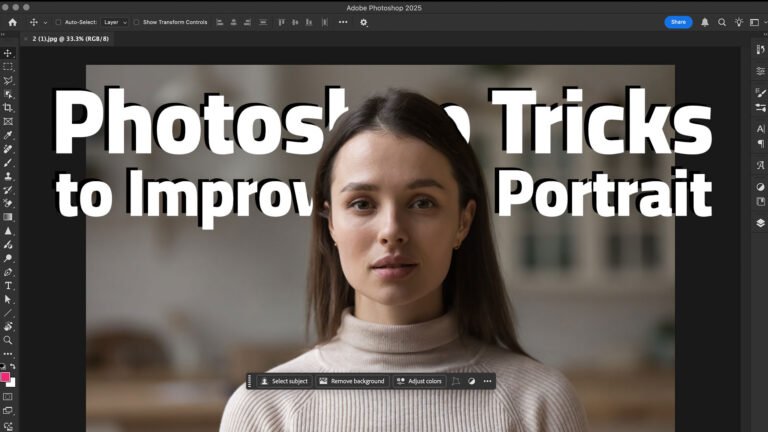
Portrait retouching can be an art, but it doesn’t have to take hours. In this guide, we’ll show you five quick and effective Photoshop tricks that can instantly enhance any portrait, no matter your skill level.
Let’s jump right in.
Draw Attention to Your Subject
One of the best ways to improve a portrait is by guiding the viewer’s attention directly to the subject. In Photoshop, this can be done easily using Camera Raw’s powerful masking features.
Steps:
- Duplicate the background layer (
Ctrl/Command + J). - Convert it to a Smart Object (
Filter > Convert for Smart Filters). - Go to
Filter > Camera Raw Filter. - Inside Camera Raw, click Masking > Subject — Photoshop will automatically detect and mask your subject.
- Brighten the subject slightly (adjust Exposure, Shadows, and Temperature).
- Create a new mask and choose Background.
- Darken the background by reducing exposure and clarity. Add warmth if needed to balance the color tone.
- Finally, apply a Vignette from the Effects tab to darken the corners and further emphasize the center of the image.
💡 Pro Tip: Push the vignette amount to the extreme first to preview the effect, then dial it back to your preference.
Brighten and Sharpen the Eyes
They say “Eyes are the windows to the soul,” and that couldn’t be more true in portrait photography. Here’s a simple way to enhance them:
Steps:
- Create a Curves Adjustment Layer and lift the curve slightly.
- Invert the mask (
Ctrl/Command + I). - Use a soft white brush and paint gently on the opposite side of the catchlight in the eye.
- Clean up with a black brush where needed.
- Control intensity by adjusting the curve or lowering layer opacity.
🧠 Bonus: Use Blend If for more natural blending by double-clicking the layer and adjusting the underlying layer sliders.
Also Read: Dynamic Text Photoshop
Fix Unnatural Skin Tones
Sometimes your subject may have unwanted greenish or uneven tones in their skin. Here’s how to fix it using the Hue/Saturation Adjustment Layer.
Steps:
- Create a Hue/Saturation adjustment layer.
- Use the hand tool to select the problematic skin area.
- Temporarily increase Hue/Saturation to visualize the targeted range.
- Fine-tune the color range sliders to isolate the affected area.
- Reset Hue/Saturation sliders and then slightly shift the hue to correct the color (e.g., reduce green).
- Use Select Subject and mask the effect to limit it to just the skin.
✅ Result: Smooth, even skin tones with natural-looking colors.
Quick Skin Retouching with Actions or Plugins
While manual retouching is best, sometimes you need fast and effective results.
Option 1: Use the Piximperfect Action (Free Demo)
- Apply the Fast Skin Retouching action.
- Adjust Median Blur, High Pass, and Texture settings as prompted.
- Paint over areas with blemishes using a white brush on the generated mask.
- Fine-tune the texture layer’s opacity for a more natural look.
Option 2: Use Plugins (Retouch4Me)
- Duplicate the layer.
- Go to
Filter > Retouch4Me > HealorDodge Burn. - Adjust the sensitivity to remove more or fewer blemishes.
- Apply and blend — a new layer is created automatically.
💡 Want more? Use Pix Auto Retouch for one-click batch retouching using Retouch4Me plugins.
Add Shine and Dimension to Hair
Adding highlights to hair gives your portrait depth and professional polish.
Steps:
- Create a Curves Adjustment Layer, raise the curve slightly.
- Invert the mask and paint with a large soft white brush on shiny areas of the hair.
- Use Blend If to blend the effect naturally with highlights.
- Want color? Modify individual RGB channels in Curves to add warmth or cool tones to the hair.
🎨 For example, lower the Blue channel to add yellow, or tweak Green and Red to create custom highlights.
Final Thoughts
These five quick Photoshop tricks can elevate your portrait retouching workflow significantly:
- Guide attention with masking and vignettes.
- Make the eyes sparkle.
- Correct skin tones naturally.
- Retouch fast with actions or plugins.
- Add dimension to hair for a polished finish.
With a little practice, these techniques will become second nature.
💬 We’d Love to Hear From You!
Which of these tricks was your favorite? Got a Photoshop problem you’re stuck on?
Drop your questions or topic suggestions in the comments below — let’s keep learning together!
And don’t forget to like, subscribe, and ring the bell on YouTube Channel: Tutorials by Nitin to stay updated with future tutorials!
Subscribe for Newsletter

